3D Printing Design Guide
Design limitation
Minimum wall thickness - 0.8 mm.
Hole diameter from 2 mm (for critical holes, it is best to print with a smaller diameter and drill to the desired size).
Maintain a tolerance of 0.85 mm to fit/place parts together.
It is recommended designing your own prototype to add small fillets at the corners to improve low distribution and overall strength.
Overhangs greater than 45 degrees will require support.
Layer height - surface resolution
3D printing is an additive method of forming objects. Regardless of the technology used, one layer is always added on top of another. In FDM 3D printing, we can determine the thickness of the layers. Changing the thickness affects the speed of printing and also the appearance of the surface. Good value for money is achieved at 200 microns.
Figure 1. Layer height from left to right (100, 200, 300 microns).
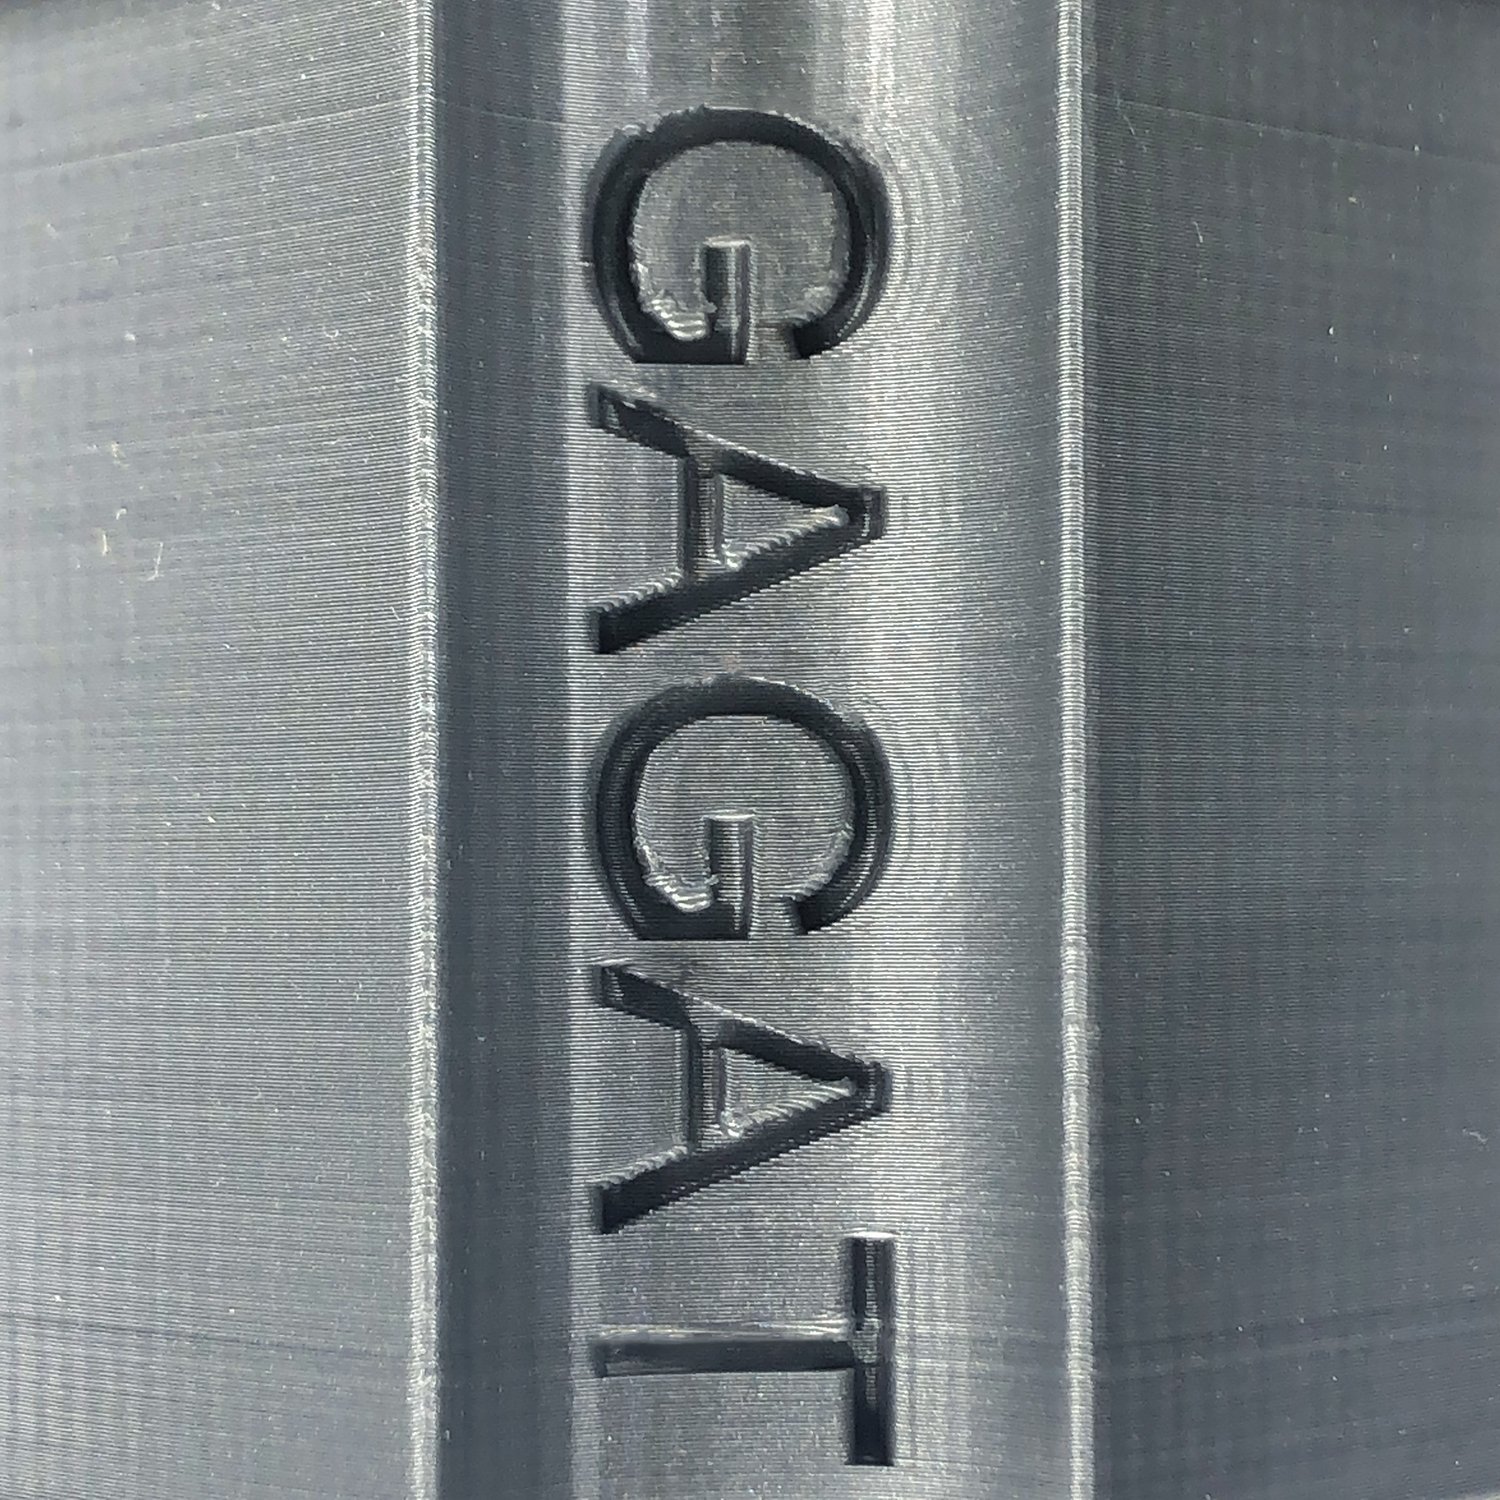
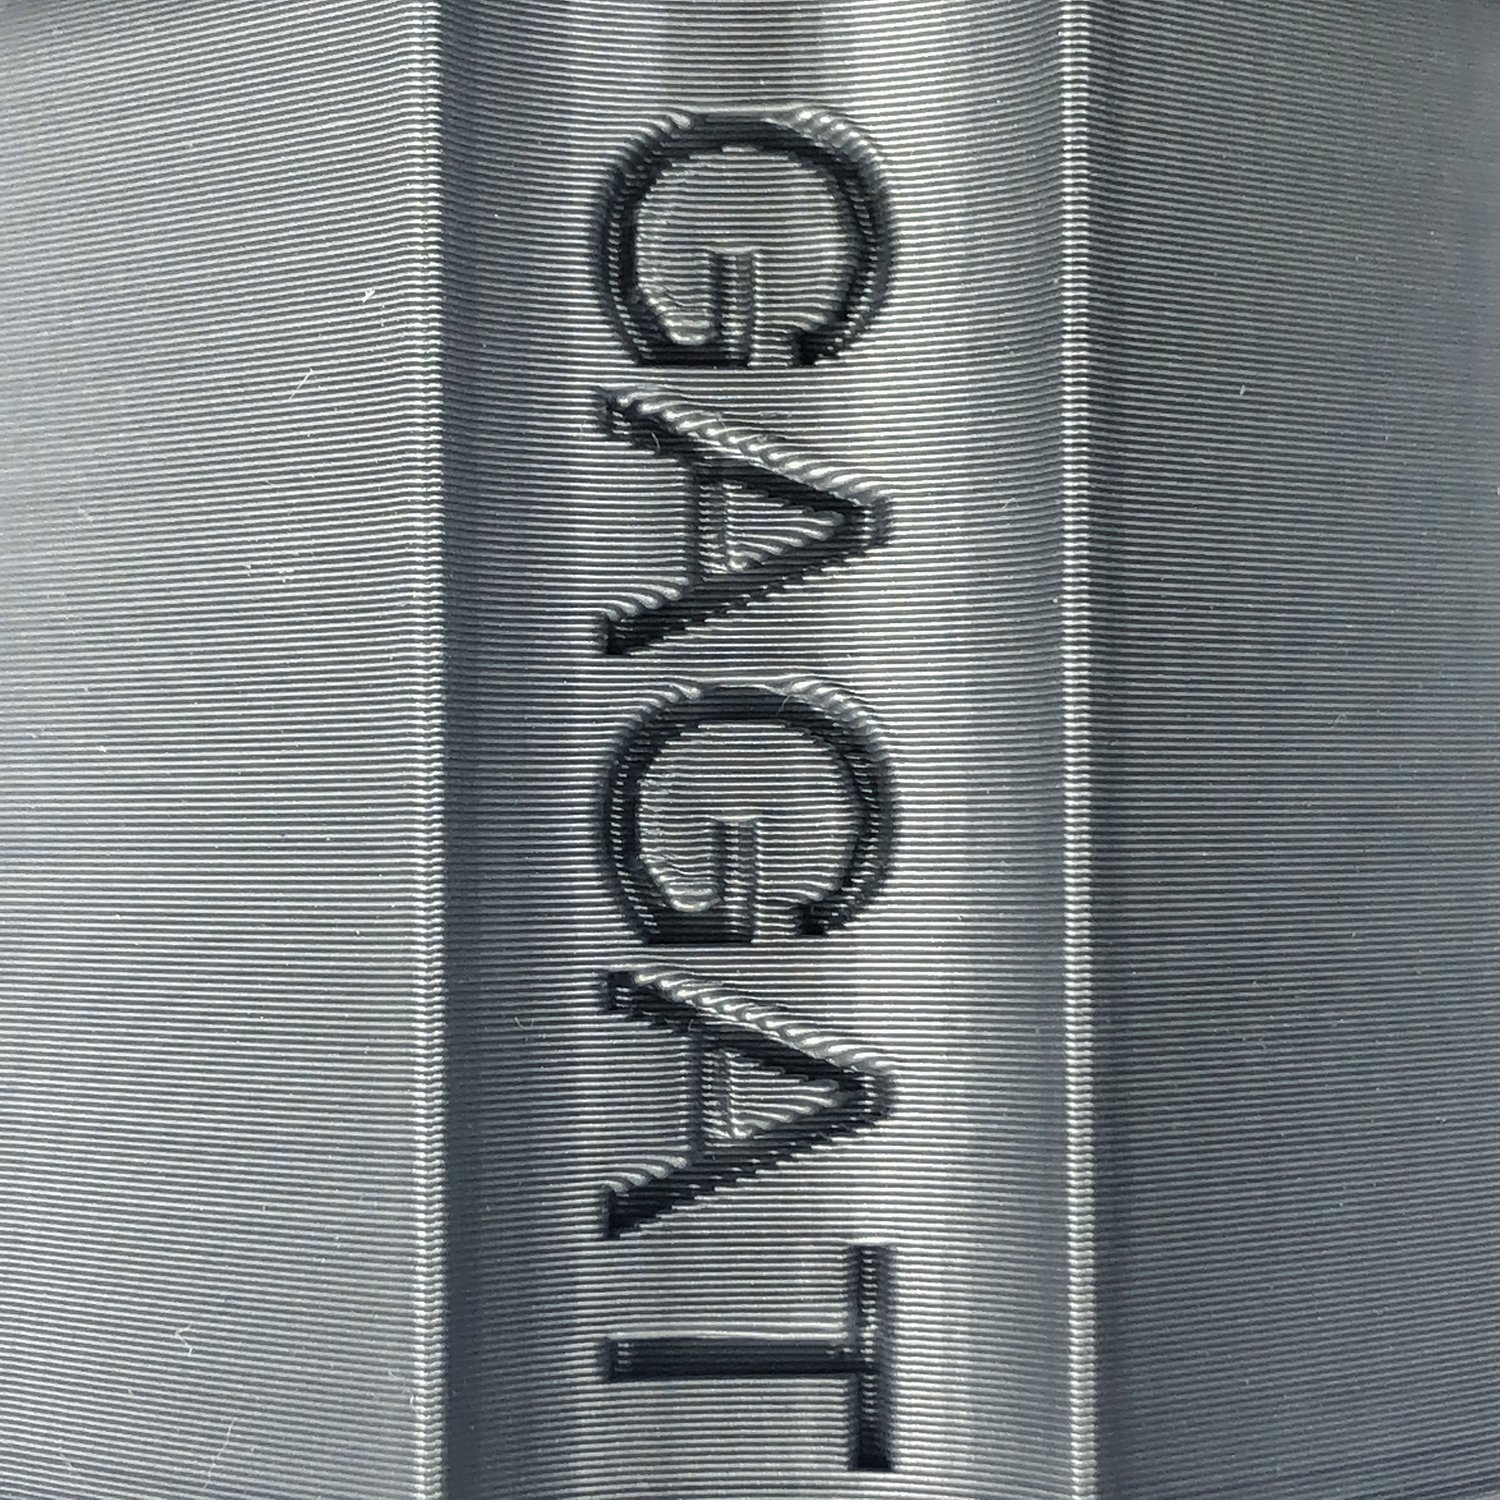
The thinner the layers the more expensive the result will be because the 3D printer has to work longer. In 90% of cases we recommend choosing the 200 micron layer thickness. If you are after the highest surface quality, you may want to consider the MJF technology. On a tight budget, 100 microns is a good compromise against the MJF surface quality.
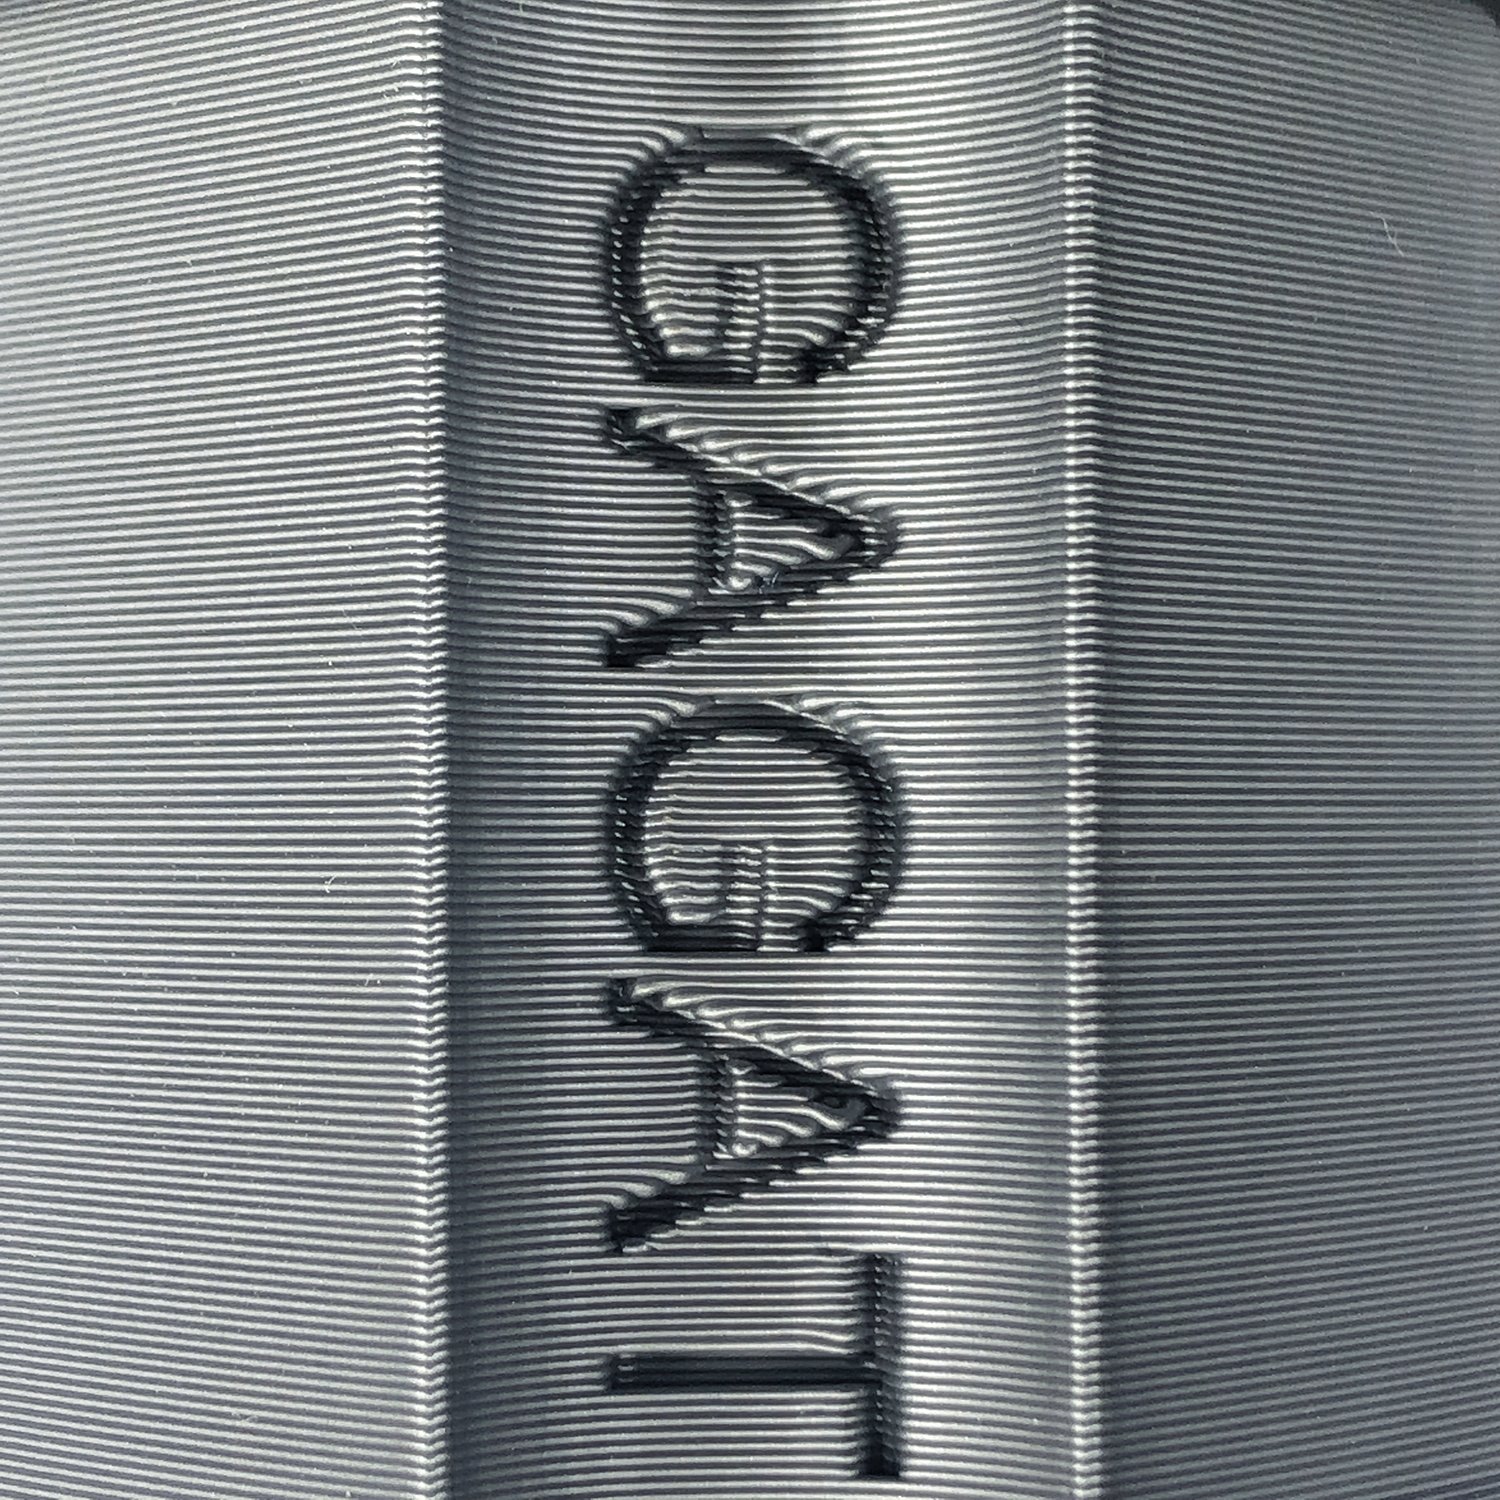
A tip: if you plan to print from PETG-CF or from PA6-CF, and if your 3D model contains no text and no small details, you can save cost of your project by choosing 300 microns, without losing much surface quality. The reason is that carbon fiber particles reduce the visibility of the printed layers, leaving very little difference between 200 and 300 microns.
What is infill in 3D printing?
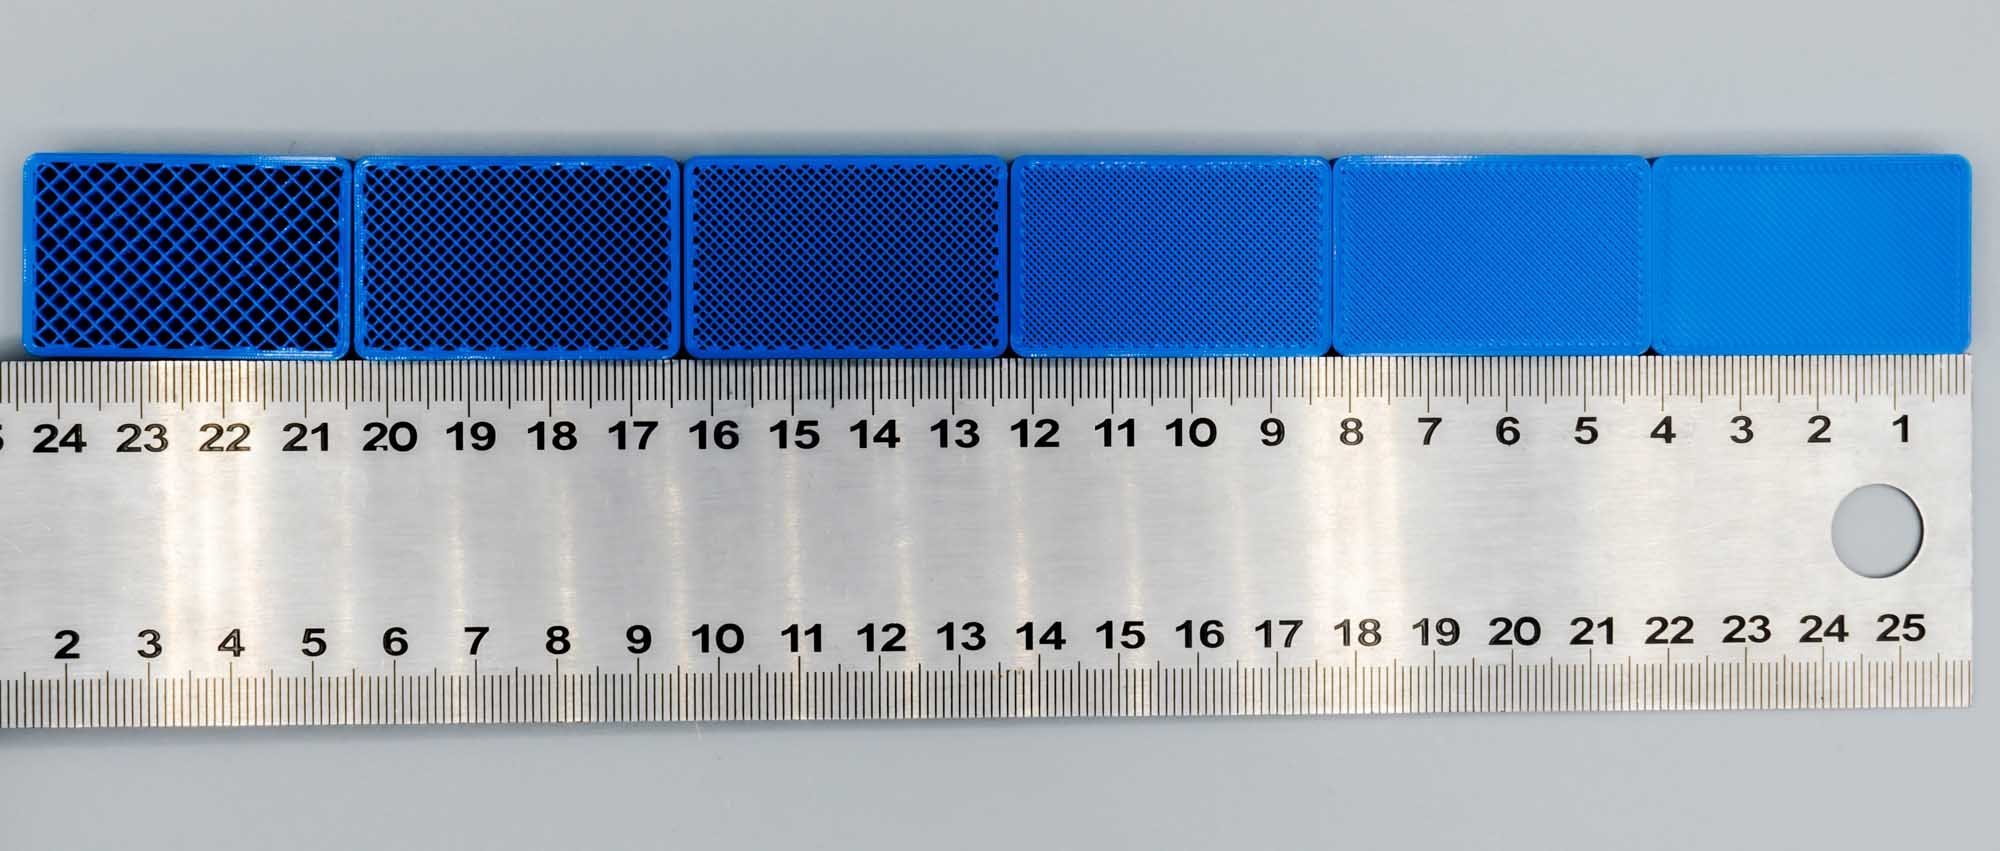
In 3D printing, the infill parameter determines how solid your model will be. When using FDM machines, we need to specify how thick the walls of the object will be. We specify that in so-called perimeters. In most cases we print with three perimeters, and anything within these perimeters is called infill. The image below shows 40x25 mm objects with three perimeters and different infill values. In this example, each perimeter is 0.4 mm thick, giving a total wall thickness of 1.2 mm.
Figure 2. Infill from right to left (20%, 30%, 40%, 60%, 80%, 100%).
How to choose the right infill?
Using a low infill is a good way to save project costs. If your part is not intended for mechanical use and does not need to be extra sturdy but is rather for visual applications or a prototype, we recommend an infill of 20-30%. For mechanical prototypes and for 3D printed tool, jigs and fixtures, 40% is a good starting point to produce solid long-lived 3D printed objects.
For TPU or TPE elastomers, the infill will determine how elastic the result will be. If you are after maximum elasticity, stick to 20%-30%. If you need something hard like shoe soles or rubber feet, better choose a higher infill.
Example of infill (simulation)
Here we show a simulation of infill on a real 3D model. Infill is shown in yellow.
3D models being used from thingiverse.com